basic guide to bug pinning
materials you'll need:
- your specimen
- a relatively airtight container
- refrigerator access
- paper towels
- pins
- foam or cardboard
- parchment paper (if your specimen has wings you want to spread)
- a jar lid or other small platform
- tweezers

material specifications
tweezers aren't strictly necessary, but they're very helpful, especially if you want to position wings.
you can use sewing pins just fine, though specially-made bug pins are ideal. they're much thinner than sewing pins, with smaller heads, which make them better for causing minimal damage to your specimen and not blocking your view. they're pretty affordable, and worth it!
foam is also better than cardboard for this, since it's softer and easier to pin into. most kinds work though, and it's easy to get from packaging. you'll want to use a smooth kind, to avoid tarsi and antennae getting caught on the surface.
parchment and wax paper will both work, as well as tracing paper. any thin, transparant, and low-friction material will do.
killing bugs?
i don't like killing bugs to pin them, almost all of mine were found dead. but if you want to, it's not hard! first identifiy your bug & make sure it's not a rare or endangered species. ideally you'd only do this with very common or invasive bugs. then just put it in a sealed container & into a freezer. leave it for at least a day, you want to make sure it's dead. then take it out & proceed like you would any other specimen! this method is painless and minimally distressing for the bug, as well as being easy to do and leaving it in perfect condition.
rehydrating your specimen
you can skip this step if your bug is freshly dead enough that all its limbs are easily & fluidly moveable! otherwise, you'll need to loosen up its muscles so you can position it without breaking anything.
first, dampen (not soak!) some paper towels and lay them in the bottom of your container a couple layers deep. put your lid or other platform on top of them, and your specimen on the platform. make sure it's not touching the paper towels directly. close up your container and put it in the fridge. let it sit for 1-3 days. sometimes it'll be ready after 12 or so hours, but play it safe! a broken limb will never sit the same, even with glue.
this is called a relaxing chamber.
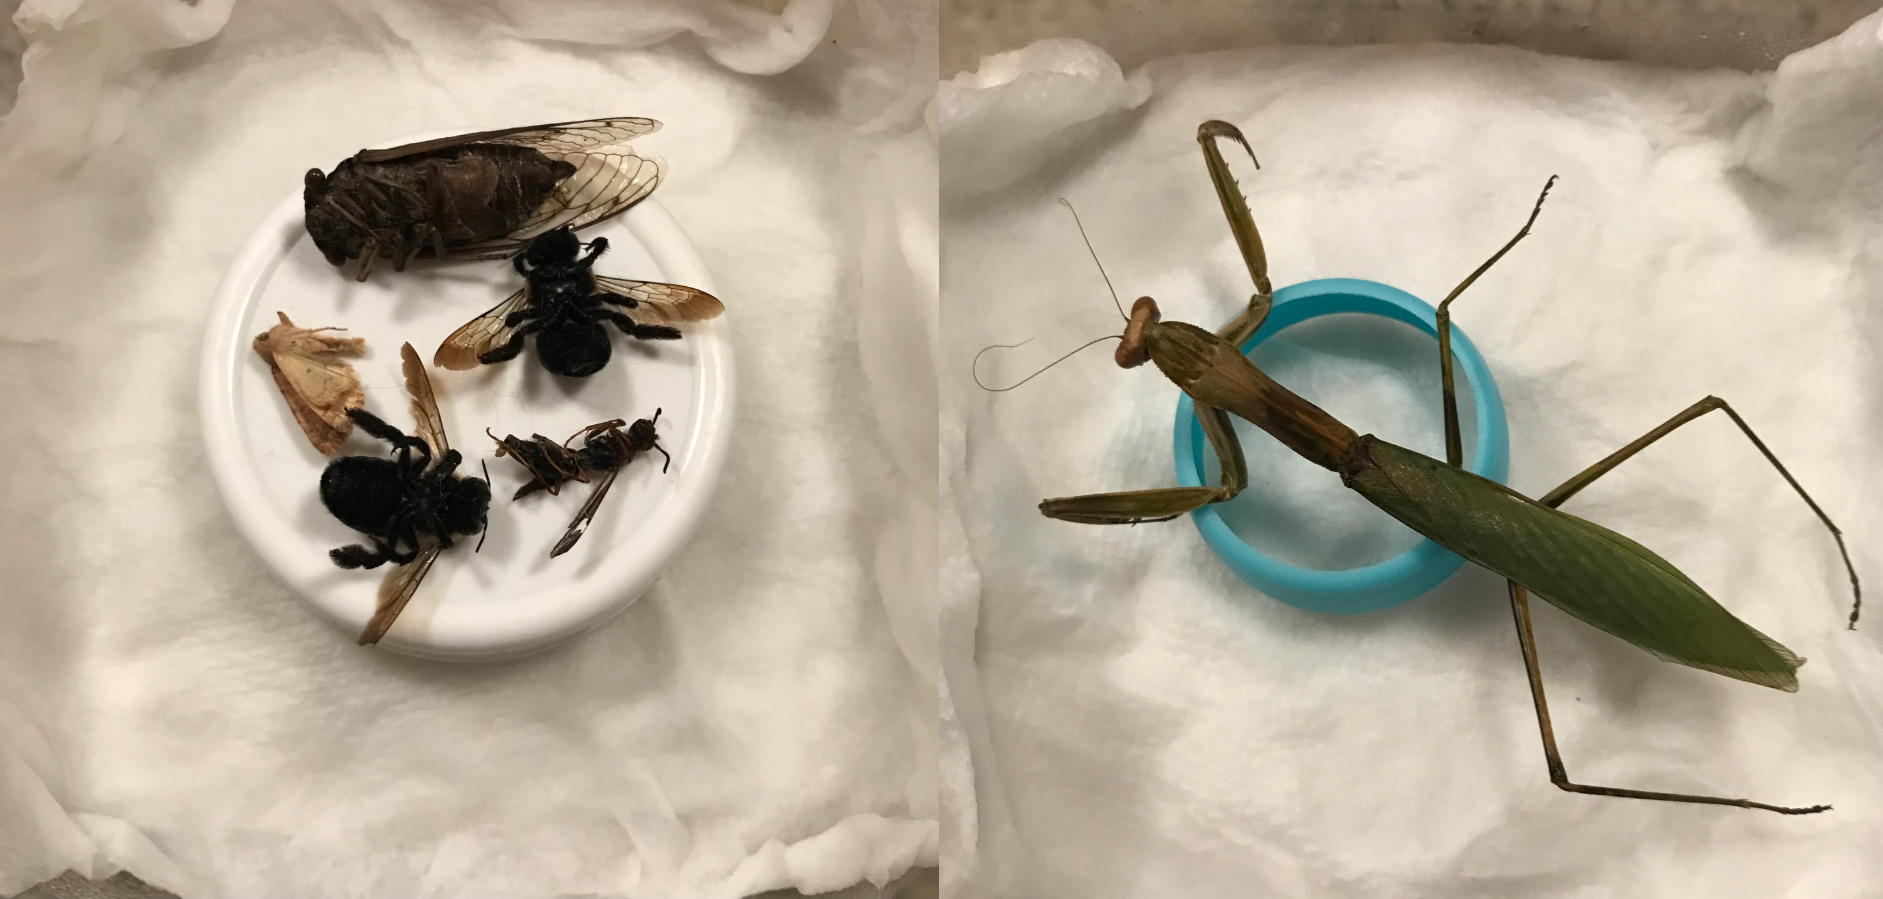
you can put multiple bugs in one chamber!
some people suggest layering the bugs INTO the paper towels, and while i can see the appeal for thicker-shelled specimens, it's mainly a great way to waterlog, mold, and/or damage your specimen. especially Lepidoperans.
if you find a specimen that's still hydrated enough to be moved, but you don't want to pin it quite yet, you can put it in the freezer for as long as you need & it'll retain the moisture. just make sure you thaw it fully before moving it around.
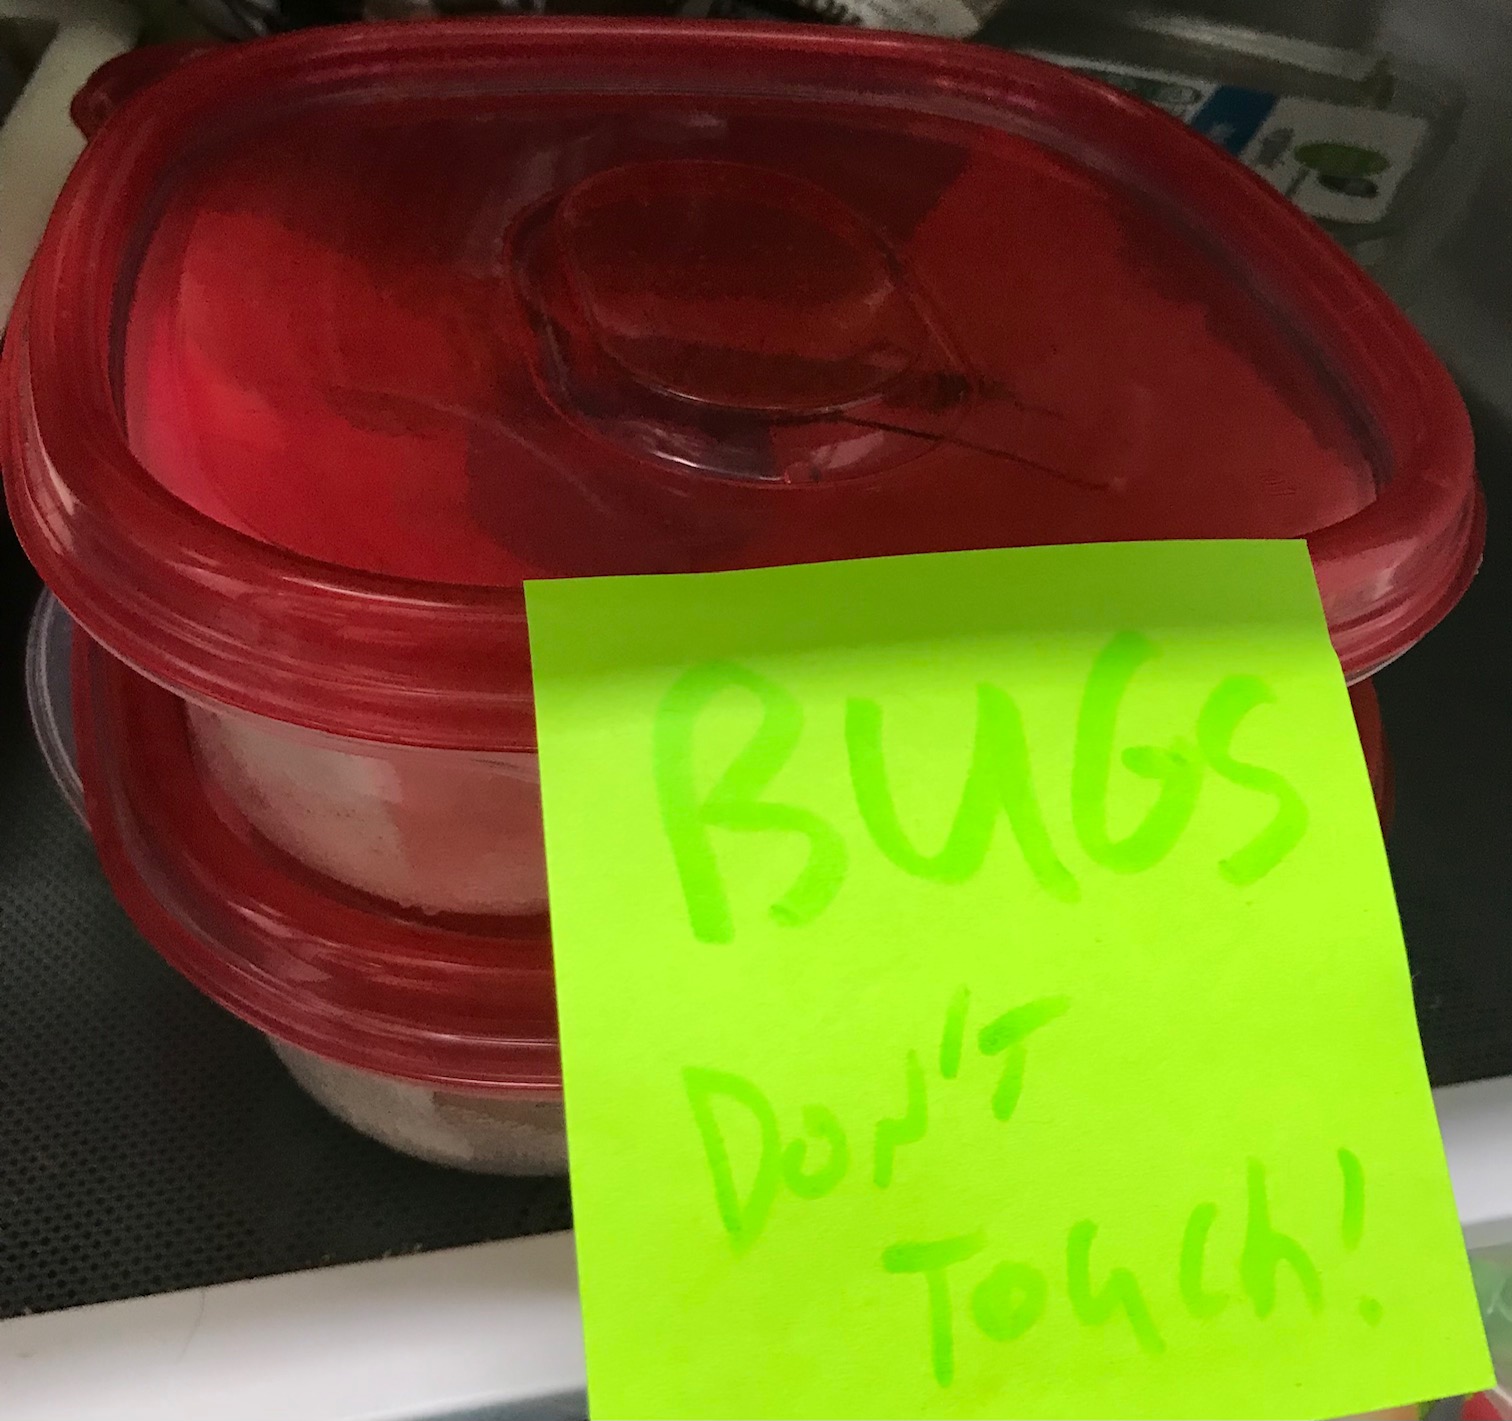
make sure they won't be disturbed
positioning your specimen
once hydrated and moveable, you can take your bug out of the fridge and get it into its final pose. you can position it however you want, but a nice symmetrical spread is standard & my perferred method.
place them on your foam or cardboard sheet and stick a pin through the thorax. if you're pinning a beetle, pin through the right elytra, close to the center. other bugs are pinned through the center regularly.
with the main pin anchoring the bug, use pins or tweezers to position the legs how you want. hold them in place by pinning around them, but don't go through any body parts. don't be afraid to use as many as you need, the only one that will stay once the pose is set will be the one through the thorax.
once you're happy with the pose, leave your bug to dry for a couple days. it might dry faster than that, you can check by seeing if the legs move when you shift the pins. once dried, you can remove all positioning pins and retreive your specimen!
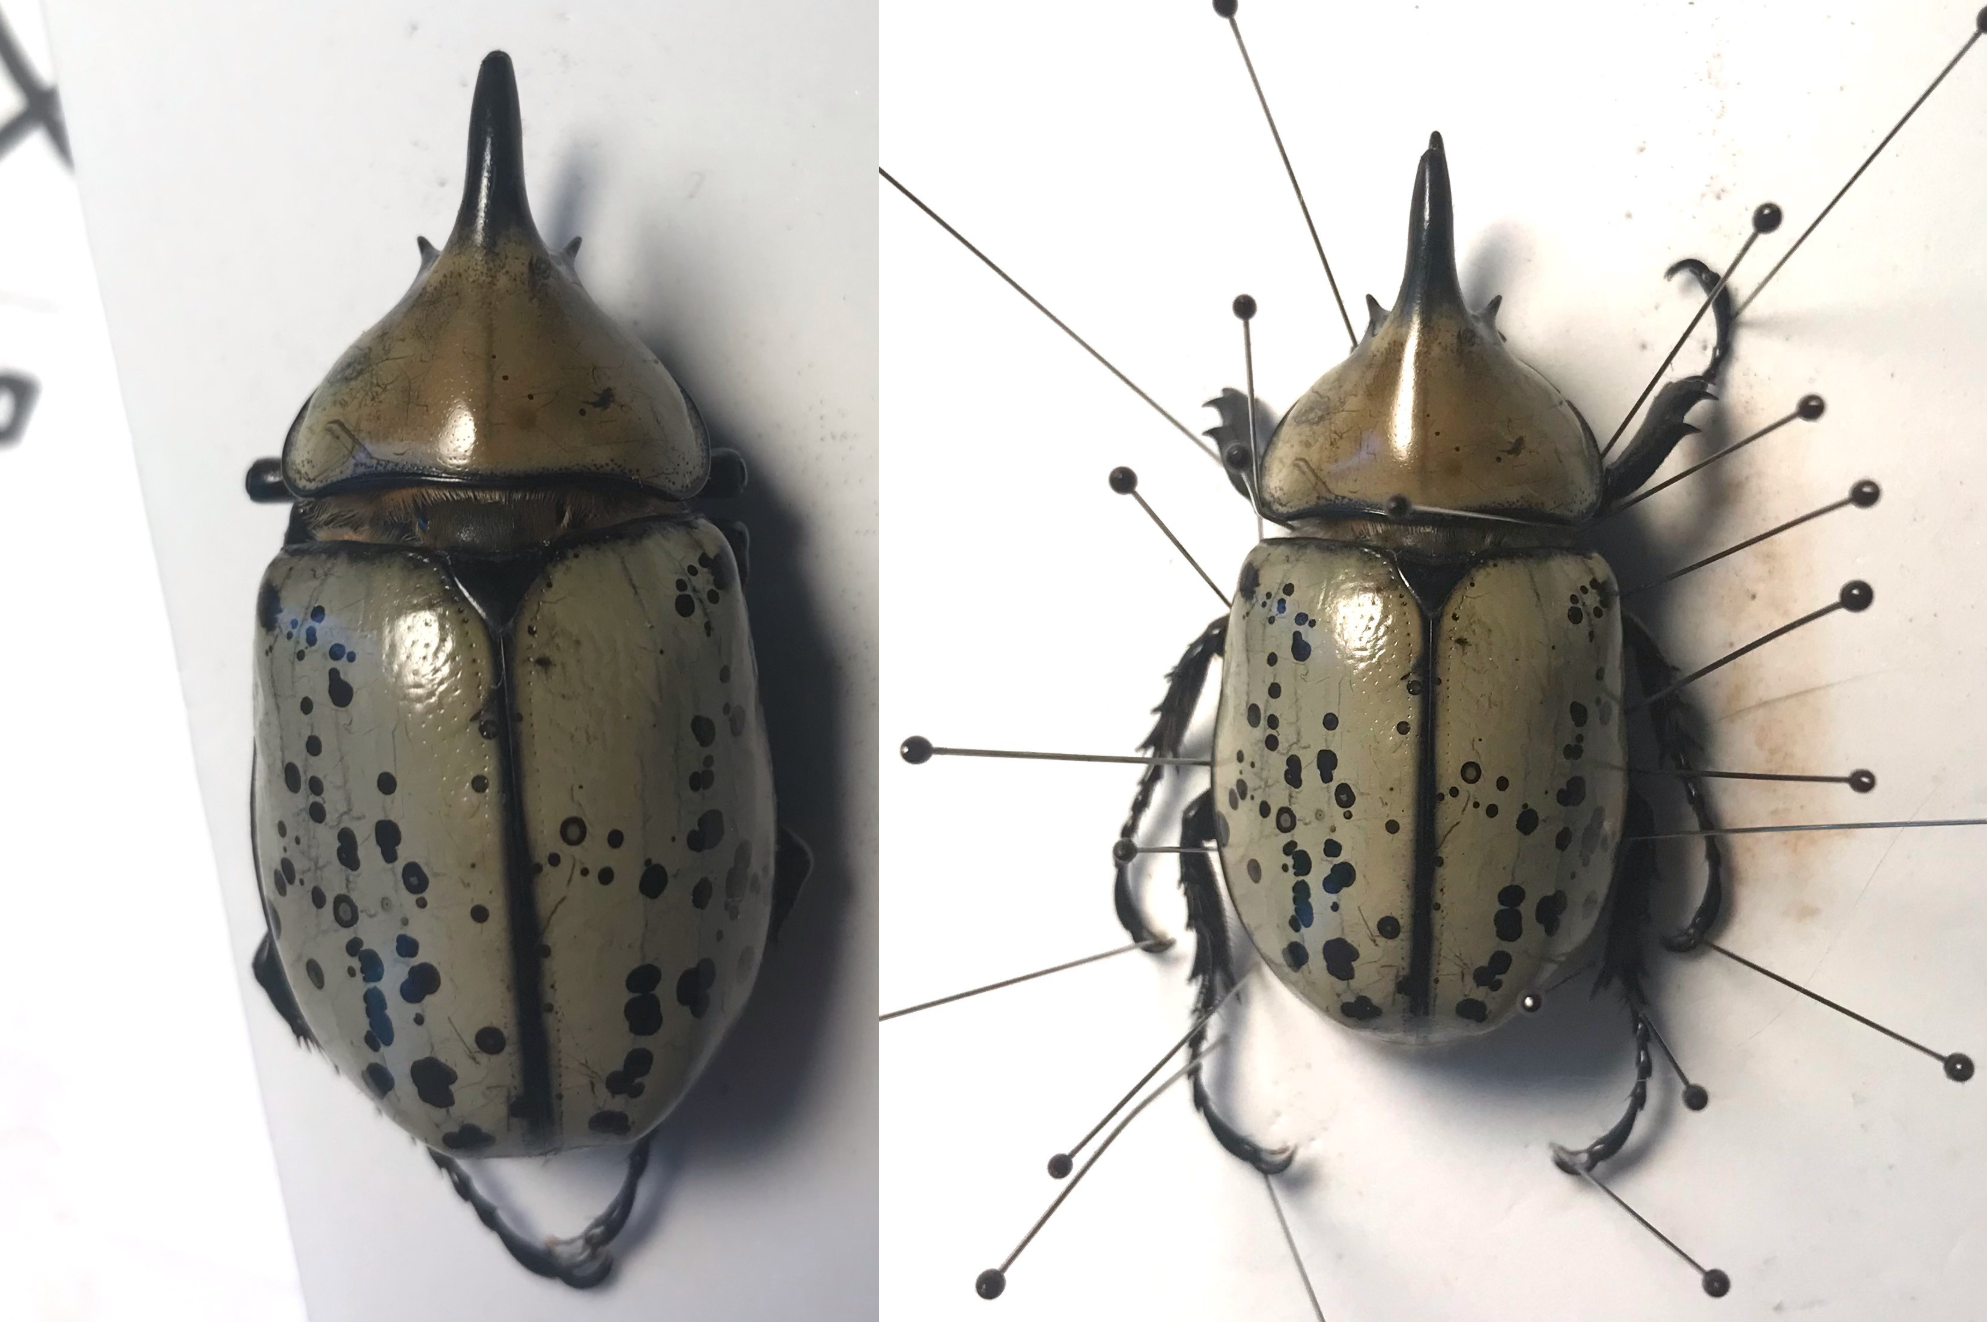
an eastern hercules beetle before and after pinning
positioning your specimen's wings
wings can be intimidating to work with, but bug wings are often sturdier than they look! you'll need a slightly different setup for this. instead of just one sheet of pinning material under the bug, you'll need three. one underneath like normal, and two to sandwich the bug's body between. the wings will rest on these (i reccomend pinning the additional material in place so it won't shift around.) if this is hard to visualize, just look at the setup for the dragonfly below!
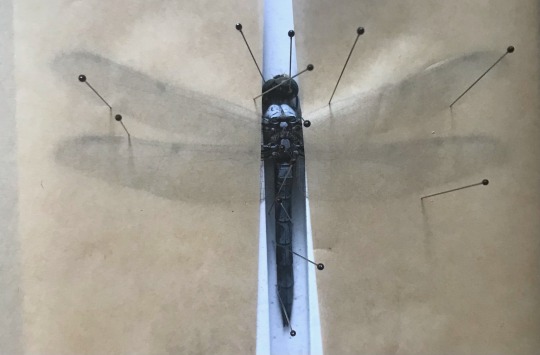
a blue dasher with its wings spread
for butterflies, moths, & any other bug whose wings point up at rest, you can just slide a piece of parchment paper between them after pinning the body and use it to gently pull the wing down until it's level with your working surface. then, keeping the paper over them (this is why transparency is important!), carefully position the wings with tweezers and hold them in place by pinning the paper down around them. repeat this process with the other wings and let the specimen dry like normal.
with other bugs, it's a little trickier, but still managable. you'll just need to carefully pull the wings out to the sides with your tweezers before holding them down with paper and following the same steps as above.
remember, when positioning wings, always try to move them from the joint! tugging at the edges is likely to tear or damage.

the mantis from earlier, freshly pinned (sans abdomen)
coming soon!
